Water Heater Leaking? Do These 4 Things Right Now
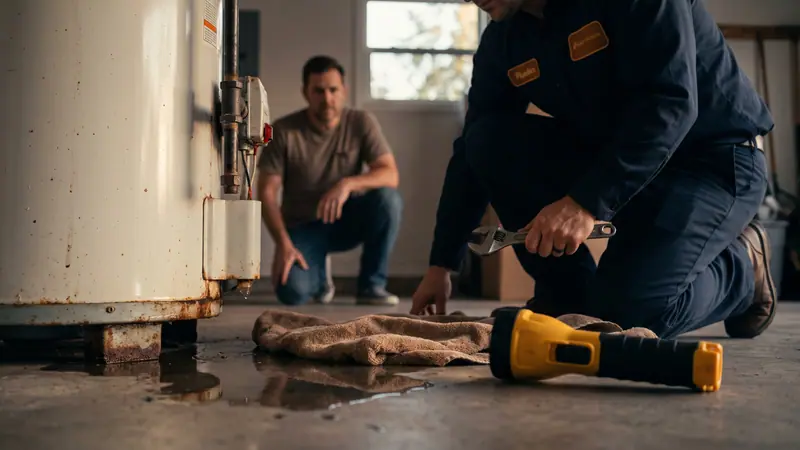
If your water heater is leaking right now, skip ahead and act — the four steps below stop the situation from getting worse, and they take about five minutes. A water heater holds 40–75 gallons under constant pressure and refills itself automatically, which means a leak never fixes itself and can turn into a flooded garage or a collapsed ceiling in hours. Do these steps first; then we’ll figure out what the leak means and whether it’s fixable.
If water is flowing fast or you smell gas, stop reading and call an emergency plumber immediately — Hill Country Plumbing Pros answers (210) 555-0199 24/7, and our emergency plumbing team covers the NE San Antonio metro.
Step 1: Cut the Power or Gas
Heating an emptying tank can destroy elements or, worse, create a serious hazard. Kill the energy source first.
Gas water heater: Find the dial or knob on the gas control valve near the bottom front of the tank. Turn it to OFF (past “Pilot”). If you can’t turn it or you smell gas, close the gas shutoff valve on the supply line — the lever or handle on the pipe running to the unit; a quarter-turn so the lever sits perpendicular to the pipe means closed.
Electric water heater: Go to your breaker panel and switch off the breaker labeled “water heater” — it’s usually a double-pole 30-amp breaker. Do not skip this: an electric element firing in a partially drained tank burns out in minutes, and water plus electricity is a shock hazard.
Step 2: Shut Off the Cold Water Inlet
On top of the heater are two pipes. The cold inlet (usually the right side, often marked blue or labeled) feeds the tank. Find the valve on that line:
- Lever handle: quarter-turn so it’s perpendicular to the pipe.
- Round handle: turn clockwise until it stops.
If the valve is stuck or broken — common on older units — shut off water at the house’s main shutoff instead. In most NE San Antonio-area homes that’s a valve in a ground box near the street or at the front wall hose bib. Closing the cold inlet stops the tank from refilling, which caps the damage at whatever is already in the tank.
Step 3: Contain the Water
Towels, a wet/dry vacuum, buckets — whatever you have. Move stored items away from the water’s path, especially anything sitting on cardboard in a garage. If the heater is in an attic or an upstairs closet (common in newer Schertz and Cibolo builds), containment is urgent: water is heading for the ceiling below. If the tank has a drain pan with a drain line, check that the line isn’t clogged.
Step 4: Call a Plumber — Then Diagnose While You Wait
With power and water off, the emergency is contained but not over — the tank still holds up to 75 gallons. Call (210) 555-0199 for same-day service, then use the section below to figure out what you’re likely dealing with. Knowing the leak location will also make the phone conversation faster.
Where Is the Water Heater Leaking From? Diagnosis by Location
The location of the leak tells you most of what you need to know — including whether you’re facing a $150 fix or a full replacement.
Leaking from the top
Usually the best-case scenario. The common culprits:
- Inlet/outlet fittings — loose or corroded connections where the water lines meet the tank. Often a tighten-or-replace-fitting repair.
- T&P valve threads — the temperature and pressure relief valve screws into the tank; the threaded joint can weep.
- Anode rod port — corrosion around the anode rod fitting.
Top leaks are almost always repairable. One caution: water from a top leak runs down the outside (or inside the insulation) of the tank and pools at the base, so a puddle at the bottom doesn’t automatically mean a bottom leak. Look and feel around the top fittings with a dry paper towel before assuming the worst.
Leaking from the T&P relief valve
The T&P valve is the tank’s safety release — it discharges water when temperature or pressure gets too high. If it’s dripping from the discharge pipe:
- Occasional drips can mean thermal expansion pressure, a common issue in area homes without a working expansion tank.
- Steady discharge can mean excessive pressure or temperature — a real safety warning, not a nuisance.
- The valve itself may simply have failed — in NE San Antonio’s 15+ grain hard water, mineral deposits jam these valves regularly.
A T&P valve replacement is inexpensive ($150–$300 installed), but the underlying pressure cause needs diagnosis. Never plug or cap a discharging T&P valve — that safety valve is the only thing standing between an overpressurized tank and a genuinely dangerous failure.
Water heater leaking from bottom
This is the one that matters most, and it has two very different explanations:
- The drain valve. The spigot near the bottom used for flushing can loosen or fail, especially plastic ones. If water traces to the drain valve itself, that’s a cheap, fast repair — sometimes just a hose cap as a stopgap.
- The tank body. If water is seeping from the bottom of the tank itself — not from any fitting — the steel tank has corroded through from the inside. This is the most common failure mode we see, and hard water accelerates it: sediment buildup and exhausted anode rods mean area tanks often rust out years early.
Leaking from the tank body or seams
Water weeping through the outer shell, from side seams, or from under the insulation jacket means the internal tank is breached. Full stop.
Which Leaks Are Fixable — and Which Mean the Tank Is Done
Here’s the honest breakdown:
Repairable: loose inlet/outlet fittings, T&P valve replacement, drain valve replacement, expansion tank issues, condensation misdiagnosed as a leak (common on gas units in humid Texas summers). Most of these run $150–$600. Our water heater repair team handles them same-day in most cases.
Not repairable: any leak from the tank body itself — bottom, side, or seams. A corroded tank cannot be welded, sealed, or patched; the glass lining and steel are compromised, and the leak will only widen. If your tank body is leaking, the unit is done, and the decision is only about what to replace it with. Budget numbers are in our water heater replacement cost guide — and if your heater is 8+ years old, replacement is almost always the right call even for borderline cases, because a major repair on a corroding tank just prepays for a second emergency.
Preventing Water Damage While You Wait
A few things that protect your home in the hours between shutoff and service:
- Drain the tank if the leak is significant. Attach a garden hose to the drain valve, run it to a driveway or floor drain, and open the valve. Open a hot tap inside the house to break the vacuum so it drains faster. Careful — the water may still be scalding for hours.
- Get water off slab and out of walls fast. Most homes here sit on slab foundations, so water doesn’t disappear into a crawlspace — it spreads sideways into drywall and baseboards. Fans and airflow within the first 24 hours are the difference between drying out and cutting out drywall.
- Photograph everything before cleanup if there’s property damage — your insurer will want documentation, and so will you.
- For attic units: put a bucket under any active ceiling drip and poke a small relief hole in a bulging ceiling spot to release water in a controlled way rather than letting the drywall collapse.
Need help in the San Antonio area?
A leaking water heater doesn’t wait for business hours, and neither do we. Hill Country Plumbing Pros provides same-day and emergency plumbing service across Schertz, Cibolo, Universal City, New Braunfels, and the NE San Antonio metro — we’ll tell you straight whether it’s a quick fix or time for a new unit. Call (210) 555-0199 now, or learn more about Water Heater Repair in San Antonio.